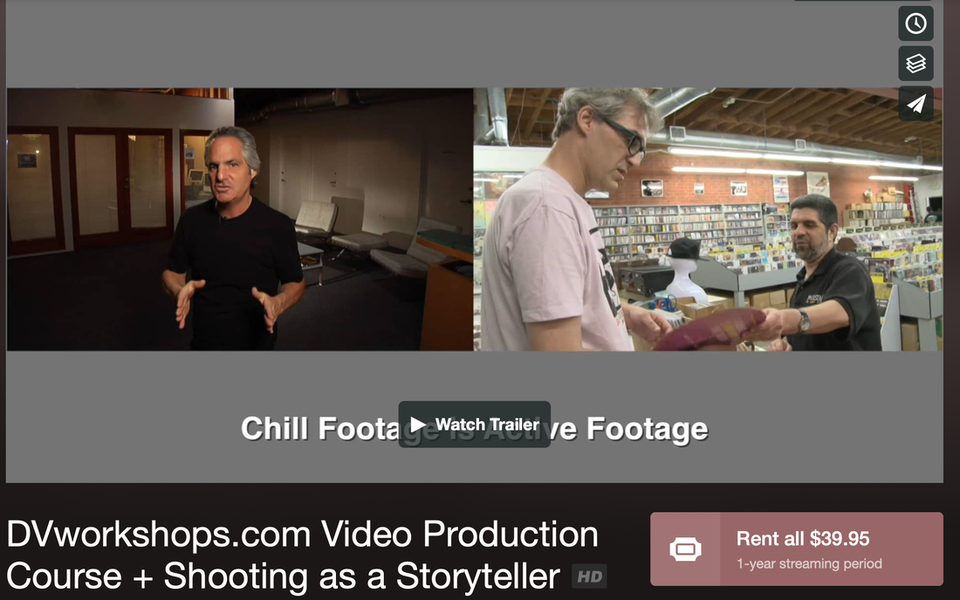
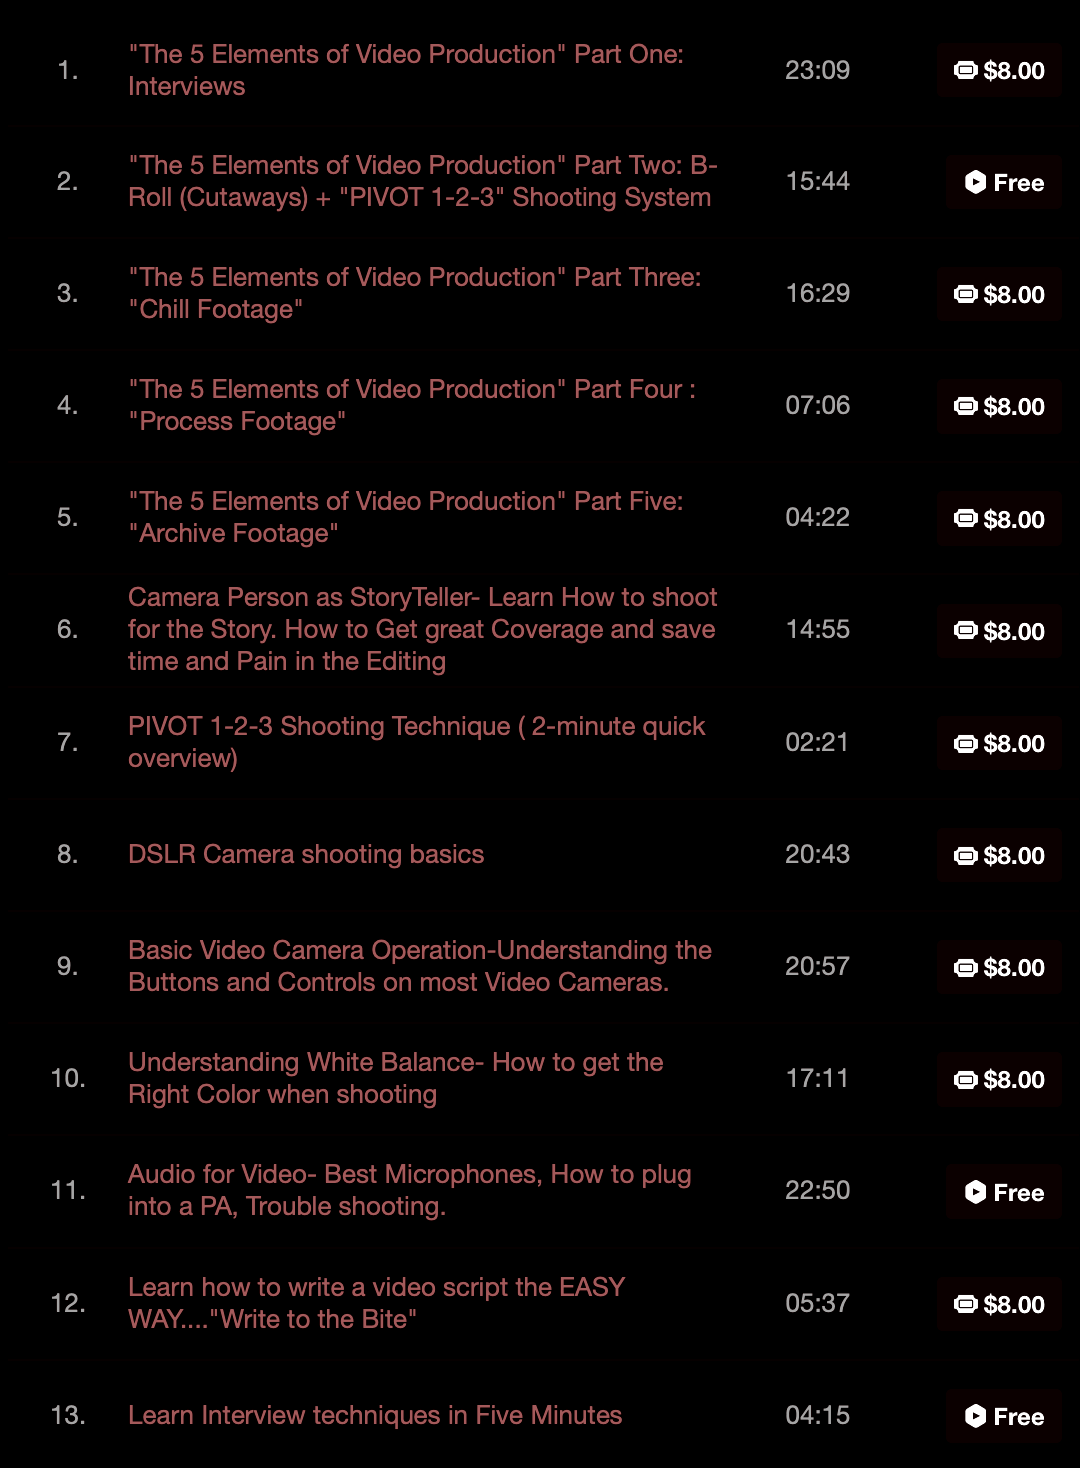
DVworkshops Instructor Aron Ranen's Lectures
on Storytelling & Videography now ON-LINE
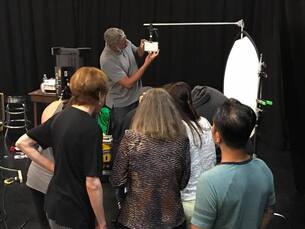
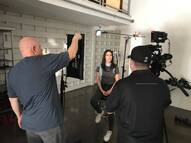
Hands-on Video Production and Storytelling Workshops
3-Day
|
2-Day
|
1-Day
|
|
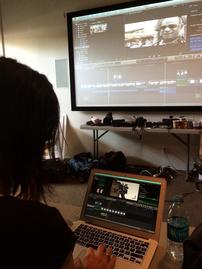
Images from our Digital Video Courses
Student Testimonials
|
Learn Videography, Storytelling and Video Editing in a entertaining and encouraging environment
Quickly learn how to shoot as a storyteller using various cameras and lighting equipment. Understand what microphones to use for each situation, plus develop professional editing skills in this Digital Video Production Course. We have developed systems for shooting, scripting and editing that are easy to learn, and fun to use. Some of these approaches are taught in our on-line video course. Cameras and computers can be provided for students at no extra charge. You are encouraged to bring your own camera and Laptop if you own one. Use them in our video camera training course and the Final Cut Pro X Class. DVworkshops is Located in Los Angeles and New York City. Digital Video Workshops at our Classroom, or at your group's facilities. Lead Instructor Aron Ranen has been educating groups and individuals for more then 20 years. Video Workshops run from 10am-7pm with a one-hour lunch break. Video Production Course New York City Location: 40 Ludlow Street, New York City Ludlow Studios Video Production Course Los Angeles Location: 4935 McConnell Ave # 1, Los Angeles, CA 90066 (Marina Del Rey/Venice Beach Area of Los Angeles) |